 Our team of beauty experts has years of experience in the industry and is dedicated to sharing their expertise with you. From the latest makeup trends to tips on how to achieve a perfect hairstyle, we have you covered. We also provide in-depth reviews and recommendations on the best beauty products in the market.
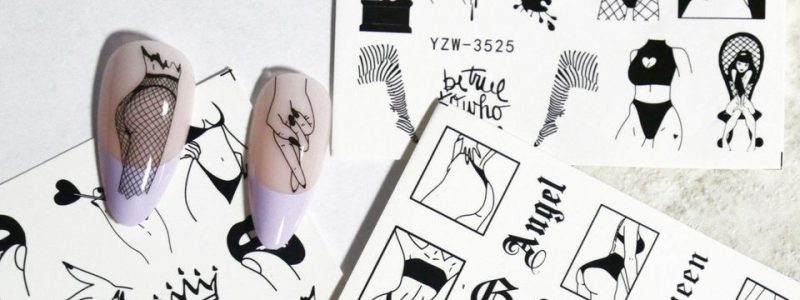
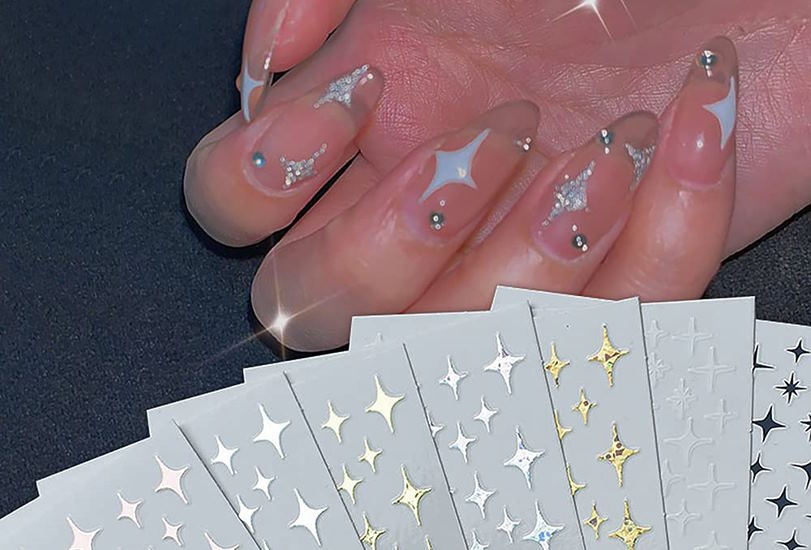
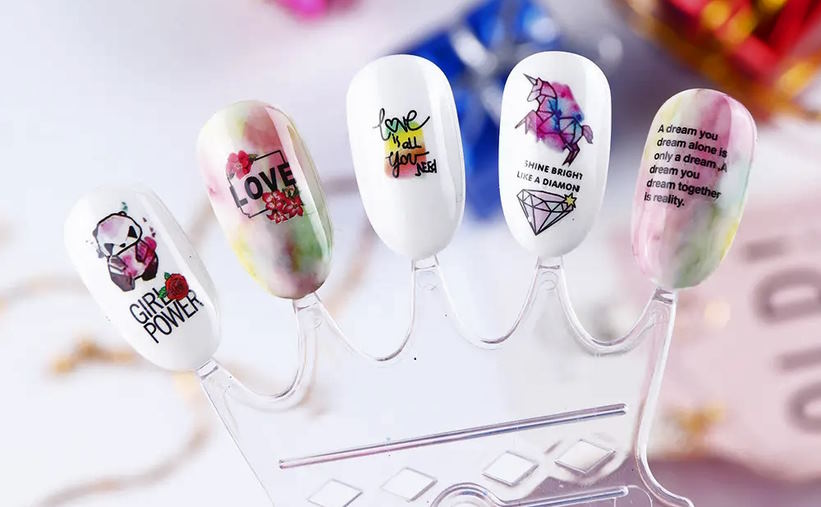
Nail art stickers and decals are a quick and easy way to add some pizzazz to your nails. Whether you’re looking for a subtle touch of glamour or a bold statement, these little accessories can help you achieve your desired look. However, like any beauty trend, there are some dos and don’ts to keep in mind to ensure a flawless result. In this blog post, we’ll explore some of the most important dos and don’ts of using nail art stickers and decals, so you can make the most of this fun and easy way to express yourself.
Dos of using nail art stickers and decals
Nail art stickers and decals are a great way to add a pop of color and creativity to your nails without having to spend hours on intricate designs. However, using them correctly is key to achieving a flawless and long-lasting look. Here are some dos of using nail art stickers and decals to help you get the best results.
Firstly, do choose high-quality products. Cheaper stickers and decals may be tempting, but they can peel or fade quickly, leaving your nails looking messy and unkempt. Investing in high-quality products will ensure that your design stays intact for longer and looks more vibrant.
Secondly, do clean and prepare your nails before application. This means removing any old polish, filing your nails to your desired shape, and pushing back your cuticles. This step will ensure that your nails are smooth and free of any oils or dirt, allowing the sticker or decal to adhere better and last longer.
Thirdly, do apply a base coat. A base coat will help your design adhere better to your nails and prevent any staining or damage to your nails. It also provides a smooth surface for the sticker or decal to stick to, allowing for a more even and polished look.
Fourthly, do follow the instructions carefully. Different brands and types of nail art stickers and decals may have different application methods, so reading and following the instructions is important. This will ensure that you’re using the product correctly and will help you achieve the best results.
Lastly, do be creative and experiment with different designs and combinations. Nail art stickers and decals come in a wide variety of designs and colors, so don’t be afraid to mix and match different patterns and textures to create a unique and personalized look. The possibilities are endless!
By following these dos of nail art stickers and decals, you can achieve a flawless and long-lasting nail design that will turn heads.
Don’ts of using nail art stickers and decals
While using nail art stickers and decals can be a fun and easy way to add some pizzazz to your nails, there are some important don’ts to keep in mind to avoid damaging your nails and ruining your design. Here are some of the most important don’ts of using nail art stickers and decals.
Firstly, don’t apply on wet nails. Applying stickers or decals to wet nails can cause them to slide off or not adhere properly, resulting in a messy and uneven look. Make sure your nails are completely dry before applying any stickers or decals to ensure a smooth and even application.
Secondly, don’t apply on nails with oil or lotion residue. Oils and lotions can prevent stickers and decals from adhering properly, so it’s important to thoroughly clean and dry your nails before applying any designs.
Thirdly, don’t apply on damaged or infected nails. Applying stickers or decals to nails that are damaged or infected can exacerbate the problem and potentially cause further damage to your nails. Make sure your nails are healthy and free from cuts or infections before using nail art products.
Fourthly, don’t apply on nails that are too short or uneven. Stickers and decals are designed to adhere to a smooth and even surface, so applying them to nails that are too short or uneven can result in a messy and unprofessional-looking design.
Lastly, don’t reuse stickers or decals. While it may be tempting to reuse stickers or decals to save money, doing so can result in a less-than-perfect application and may cause the design to peel or fade more quickly. Instead, it’s best to use new stickers and decals for each application to ensure the best results.
By keeping these don’ts of using nail art stickers and decals in mind, you can ensure a flawless and long-lasting nail design that will look great for days to come.
Tips for maintaining and removing nail art stickers and decals
Nail art stickers and decals are a quick and easy way to add creativity to your nails, but once you have applied them, you’ll want to ensure they last as long as possible. Here are some tips for maintaining and removing nail art stickers and decals.
Firstly, use a top coat to seal the design. Applying a clear top coat to your nails after applying stickers or decals will help to seal the design and prevent it from peeling or fading too quickly. This is especially important if you plan to do any activities involving water, such as washing dishes or swimming.
Secondly, avoid hot water or harsh chemicals. Exposing your nails to hot water or harsh chemicals, such as cleaning products or acetone, can cause the stickers or decals to peel or fade more quickly. To extend your design’s life, avoid activities that may expose your nails to these substances.
Lastly, gently remove the stickers or decals with a nail polish remover. When it’s time to remove your nail art, use a gentle nail polish remover to avoid damaging your nails. Apply the remover to a cotton pad and gently rub it over the design until it begins to loosen. Again, be patient and take your time to avoid damaging your nails.
By following these tips for maintaining and removing nail art stickers and decals, you can enjoy your beautiful designs for longer and ensure that they look their best until it’s time to switch things up.